FAQ
ConvKit offers many and ever growing ways to control the behaviour of your campaigns. In this tutorial we will look at how you can customize the way your campaign behaves in detail.
In a nutshell we will be looking at the following options:
Delay of the appearance
Widget auto-close delay
Display effects
Trigger of the appearance
Frequency of displaying the widget
1. Select the campaign you wish to edit and open it.
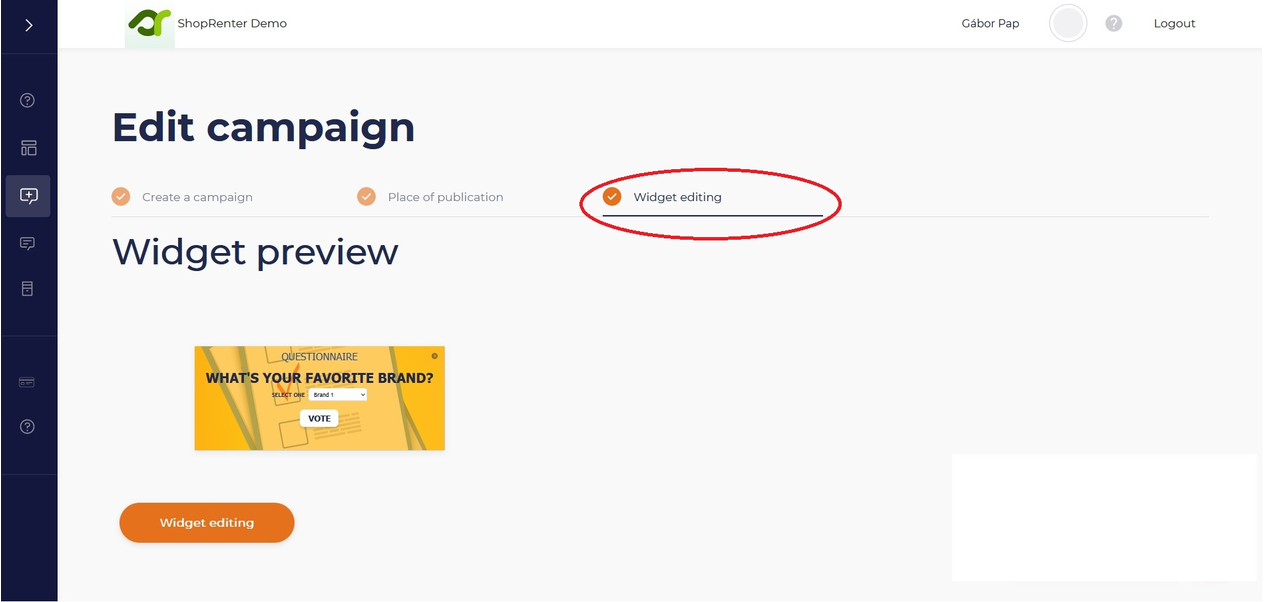
2. Navigate to the "Widget editing" tab where you can customize the display parameters.
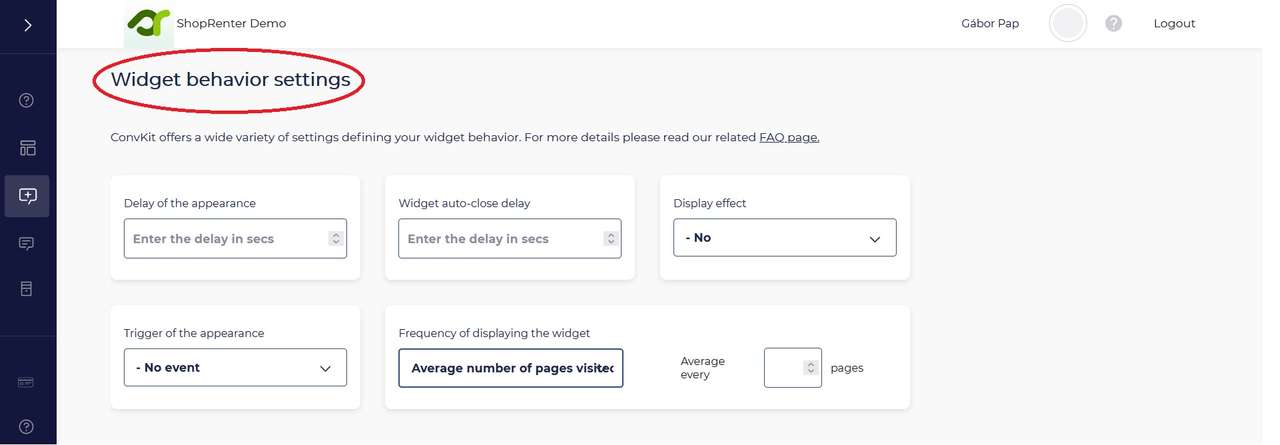
3. Scroll down until you can see the "Widget behaviour settings" section. Here you can find all the options that we will be discussing in this tutorial.
4. Delay of the appearance
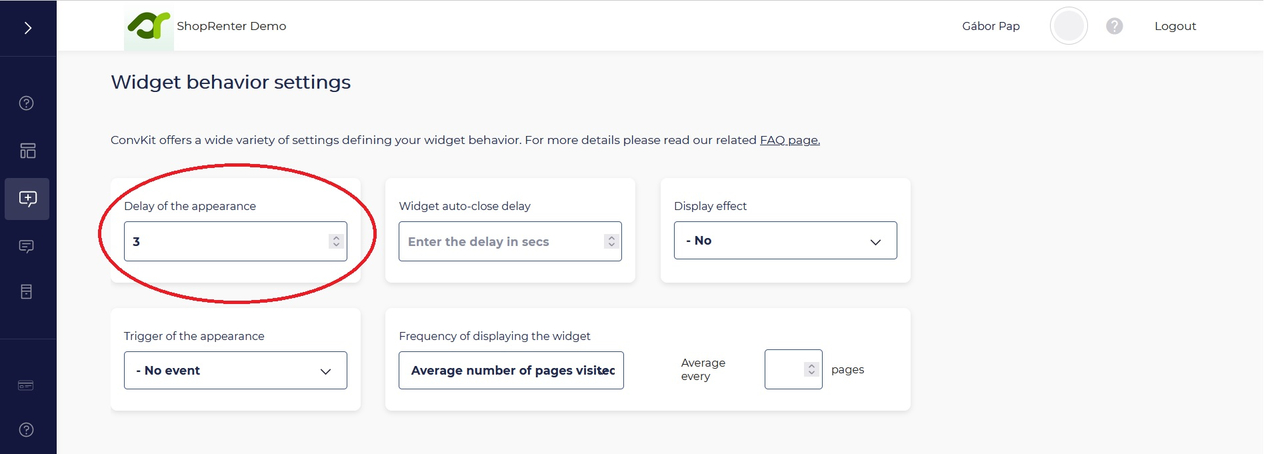
With most campaigns it's important for certain messages to appear with a delay as it can be confusing for your visitors to see a pop-up right away when what they are expecting is content. Normally we only ever leave this value on 0 or 1 (seconds) when we are displaying a widget that is well embedded into the page content and is not too disruptive. For example a promotion related specifically to a relevant product. At the "Delay of the appearance" field we can specify the delay in seconds after our widget appears when the page loads.
5. Widget auto-close delay
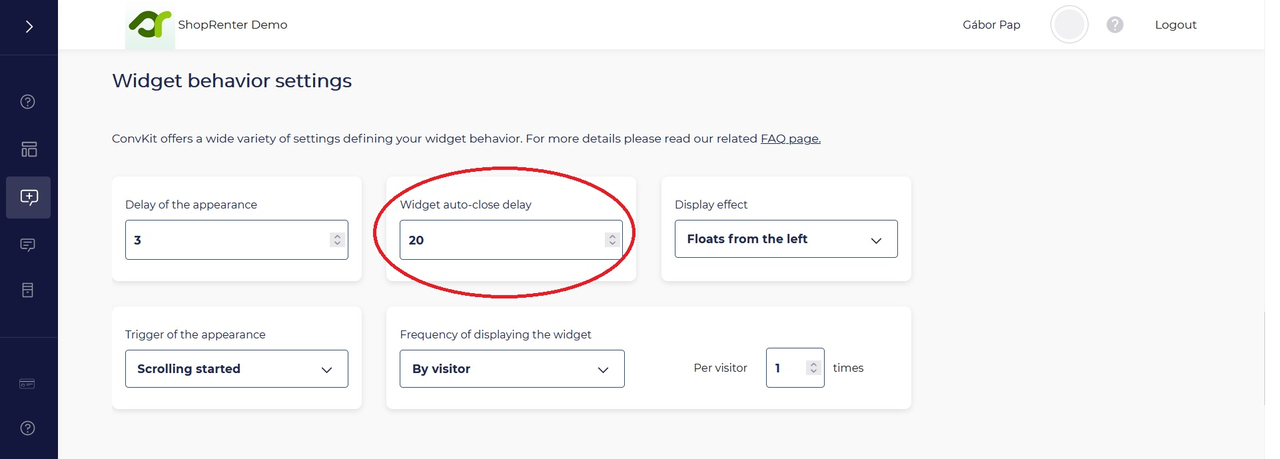
We may need this option if we don't want to divert the attention of our visitors for a long time. We can always assume that after a certain period of time the visitor has already seen the contents of our widget. When it comes to subscription and submission based widgets it is recommended to leave this option either blank or set it to a higher value. At the "Widget auto-close delay" field we can specify how many seconds it should take for our widget to close. The value you set is the duration in seconds and the countdown starts as soon as the widget appears on the screen.
6. Display effects
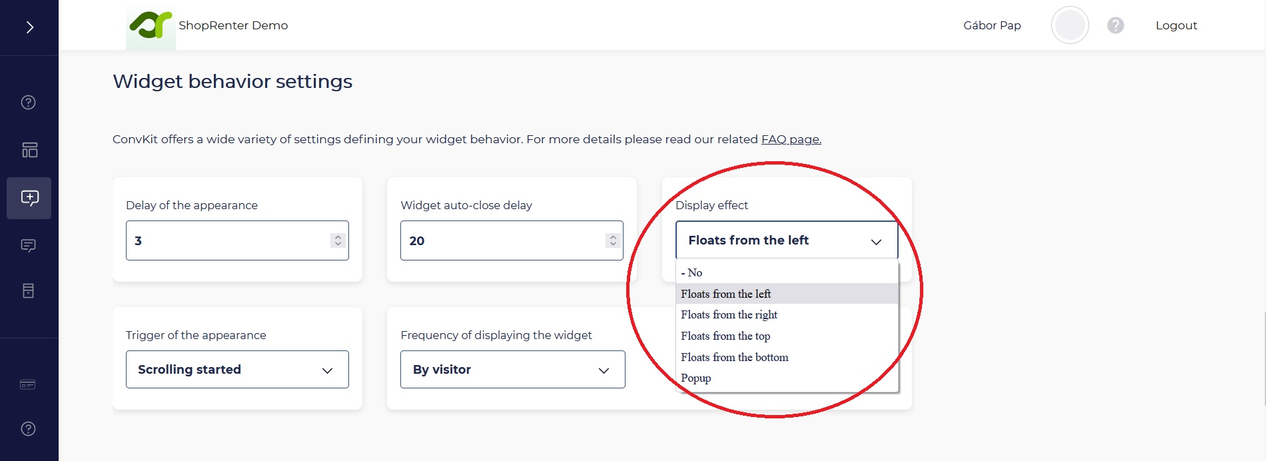
ConvKit offers numerous pop-up animations that can help you to catch the attention of your visitors. Currently the following effects are available (the list will continue to grow as we add more features so it may be useful to sign up for our newsletter to stay updated):
- Pop-up
- Floats from the left
- Floats from the right
- Floats from the top
- Floats from the bottom
Effects that float from the right or the left are most useful with widgets that appear on the left or right side of th screen while effects that float from the top or the bottom are useful when you position your widgets on the top center or bottom center of the screen.
7. Trigger of the appearance
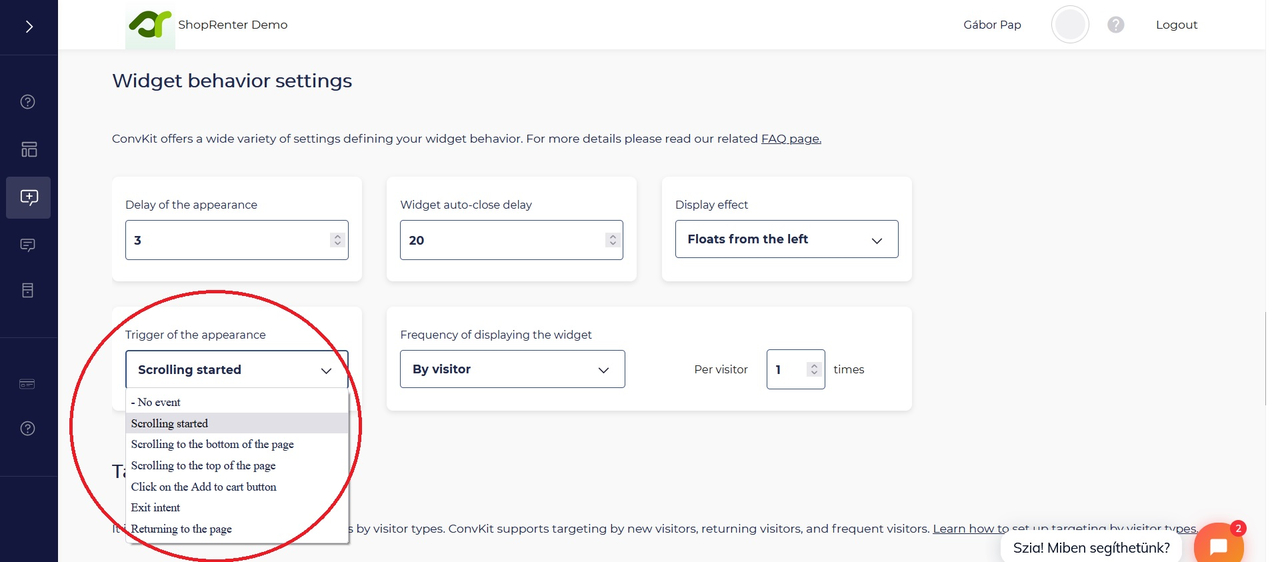
We can customize our widgets so that they respond to and appear when certain events happen. This way we can make sure that the visitor is actively browsing the page and we have an opportunity to grab their attention. In this section we will explain what events can happen and when and how you can make your widgets appear based on these events.
Scrolling started
This event is triggered when the visitor starts to scroll in any direction with the mouse or if the visitor starts swiping up or down on a mobile device. If the event is triggered by any means the widget will appear on the screen.
Scrolling to the bottom of the page
The event is triggered when the visitor reaches the bottom of the page by either scrolling or swiping, then, the widget will appear on the screen.
Scrolling to the top of the page
It is triggered when the visitor reaches the top of the page by either scrolling or swiping after which the widget will automatically appear. The event will only triggered if the visitor has already scrolled down a bit.
Click on the "Add to cart" button
ConvKit can detect when the visitor click on the "Add to cart" button on a product page. If this event is selected then it will trigger our widget to appear by doing so. This doesn't work in certain webshops where the visitor is automatically redirected to the cart page once they click the button.
Exit intent
With the help of ConvKit's exit intent detector technology you can efficiently respond to when a visitor is about the navigate off of a page. The technology is optimized and works for both mobile and desktop platforms. Using the "Exit intent" event you can create highly responsive widgets that can prevent your visitors from leaving the cart page or it can also be utilized to gain new subscribers.
Returning to the page
It's very common for visitors to return to certain pages that they have previously visited. Using this event you can create widgets to re-greet them or to persuade them further into adding products to the cart and in some cases it may be useful for gaining new subscribers.
8. Frequency of displaying the widget
It's bad practice to overwhelm your visitors by displaying messages too frequently. It is advised to limit the amount of times each widget appears in front of your visitors. To help you with this ConvKit offers 4 different settings:
Always
Using this setting the widget will appear every time on every page that is being targeted. It's advised to only utilise it for important messages where it's important for the visitor to see it often.
By session
By using this option we can define how many times a widget will appear during a browser session. The value will reset for each visitor when they close the browser.
By visitor
Setting this value will define how many times a widget can appear to a visitor at most regardless if they close the browser or not. This value only resets for each visitor when they manually erase or reset their browser settings.
Average number of pages visited
This value will set how many pages a visitor needs to view before the widget appears. The cycle restarts every time the widget appears. It is useful if you don't want to overwhelm your visitor for example when you'd like to gain new subscribers or collect information.


